Blogs
How to Use a SMART Board in the Classroom - Basic Operations
- How to Use a SMART Board
- Calibration
- Using Touch To Control
- Writing With SMART Board Pens
- Erasing and Saving Your Writing
- Cleaning the Board
- Conclusion
How to Use a SMART Board
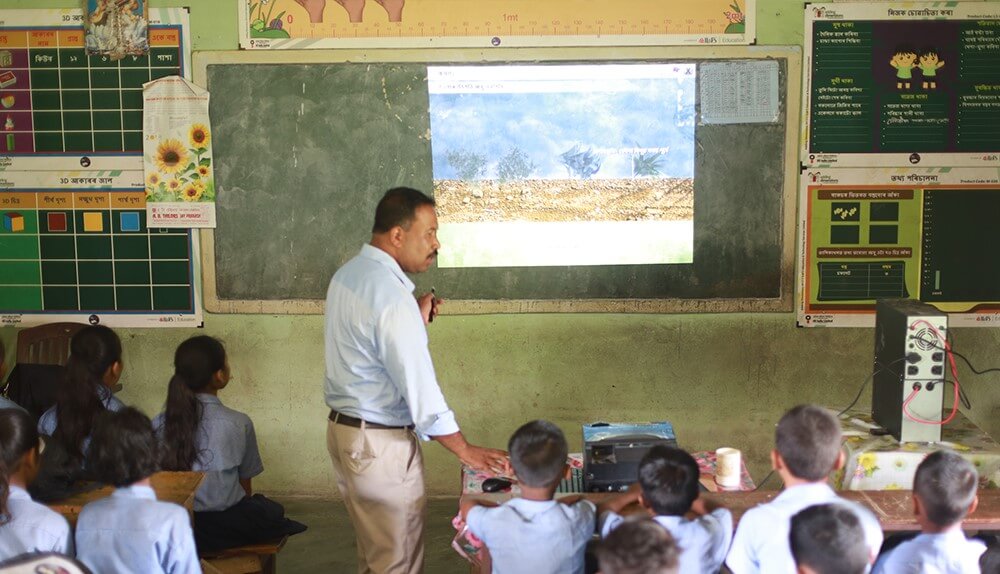
A SMART Board is one of the most crucial necessities of a smart class. The learning curve for using a SMART Board for teaching is surprisingly low. Within just a few minutes of learning how to use the fundamentals, you'll be able to calibrate your board, use touch gestures, write on them with pens, save or erase your writing, and learn to clean them in a fast and efficient manner.
A SMART Board ensures learning is never boring in the Smart Classroom. This technology offers many interactive learning opportunities to keep children interested in the learning process. Also, a smart classroom allows access to digital textbooks, digital courses, virtual lessons, assessment, one-on-one access to teachers and more.
Here are some of the key skills to know when learning how to use a SMART Board for teaching:
Calibration
It's crucial to understand how to orient your SMART Board for classrooms to master the fundamentals. If you're using a SMART Board for the first time, you'll need to calibrate it so that it identifies your touch appropriately. To begin, turn on your SMART Board and simultaneously hit the keyboard and the right click mouse button. The calibration tool will be launched as a result of this action. Pick up one of the pens and press it towards the middle of the target on your board before releasing it. Repeat this procedure until all of the targets have been reached.
Using Touch To Control
A SMART Board can be used by anyone who can use a mouse. It’s that simple. The following are the touch fundamentals for the SMART Board. Anything you can accomplish on a computer with a mouse, you can do on the SMART Board with your finger. As a result, a left-click mouse gesture is equivalent to a single quick tap on the board. A double-tap is the same as a double click. By pushing and holding one location on the board, or by clicking the right click button on your pen tray, and then tapping the board, you can make a right-click mouse gesture.
Do you want to drag and drop? Simply touch the object you want to move and drag it to where you want it without letting off of the board's pressure. The on-screen keyboard can be used to type on the SMART Board. To use the on-screen keyboard, simply hit the keyboard button on the pen tray. You can also use your computer keyboard to type.
Writing With SMART Board Pens
One of the most crucial SMART Board fundamentals is correct pen usage. Using the provided pens, you may quickly and effortlessly write or draw on your SMART Board while surfing the Internet or working with PDF files. Simply select one to get started, and an ink layer frame should appear around your board. Whatever is on your screen can now be written, drawn, or annotated. You won't be able to scroll down the page, so be sure you have all you need on the screen before picking up the pens.
The SMART Board has various coloured pens to choose from, but regardless of how many pens you have in your hand at any given time, it will only remember the last colour you picked up. You may write with your finger, a tennis ball, or even your fist once a pen has been taken from the tray. The pens are simply rubber and plastic components that have been moulded into handy shapes. They don't contain any fancy electronics or sensors, so don't be concerned about dropping or misplacing them.
Erasing and Saving Writing
You have a few alternatives when it comes to erasing your writing, but you should always start by putting any pens you have out back in the pen tray. You can use the board eraser to erase some of your notes. Simply pick it up and use it like you would a regular eraser. Touch the board with your finger and select 'Clear Ink' to clear all of your writing at once. Alternatively, three icons can be found in the top right corner of your board. You can remove all of your notes by clicking the one on the left of the three – it looks like a piece of paper with a sun on it.
However, you might not want to delete all you've written. You might want to keep your notes to use in a later lesson or with a different group. There are two options for accomplishing this. You can do this either by touching the board once and selecting 'Save Ink' or by clicking the camera in the top right-hand corner. Both approaches open SMART Notebook with your notes. To save your annotations, simply pick 'File' and 'Save' from this menu.
Cleaning the Board
The ideal cleaner for SMART boards for classrooms is an alcohol-free glass cleaner. Simply apply a small amount to your board and wipe it clean with a soft, clean cloth. Because the cleaner may drip down into the circuits housed in the frame of your board, spray it directly on the cloth rather than the board.
Conclusion
So, how easy is it for instructors to use the SMART Board for classrooms? It takes only an hour to get used to a SMART Board, just like any new technology tool, but after you understand the basics, you are all set to charm your students in your smart class.
With a SMART Board on your side, students will love to attain knowledge by learning in an interactive manner.

Social Media Links


